






About Tunnel Ball
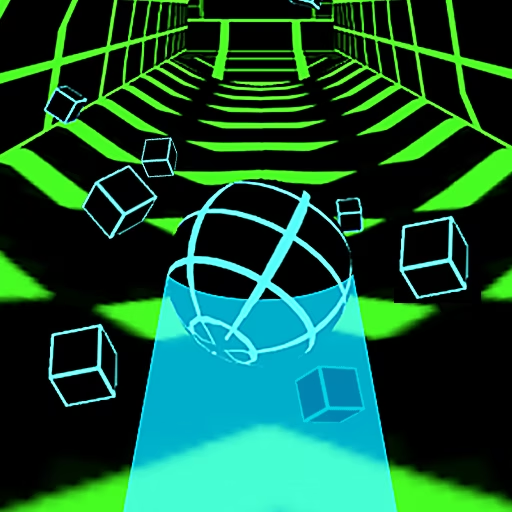
Tunnel Ball changes the usual flat-track view into a route that curves around a tube. You steer the ball sideways to avoid obstacles distributed across that surface, reading openings as the tunnel turns ahead. A path that looks clear at one moment may be interrupted by a shape or barrier farther along the same line.
The source version offers an endless run and challenge maps, giving you a choice between extending survival and working on a particular course. Diamonds supply another collection target and unlock additional balls. The tube's changing orientation makes deliberate positioning especially useful: first decide which opening to pass through, then use the available space to line up for it.
How to Play Tunnel Ball
Choose a run or challenge, then guide the ball through the tunnel’s clear openings without hitting a hazard.
- Select the available endless or challenge option.
- Use the left and right arrows to change the ball's position around the tunnel route.
- Read the opening in the next obstacle and move toward it before contact.
- Collect safe diamonds and continue through the course; collision stops the attempt.
Controls & Timing
Following the tube
As the route spirals, use the tunnel surface as your reference. A small correction toward the opening is easier to manage than a broad sweep made from habit.
Changing obstacle shapes
When an obstacle moves or opens, watch the usable space rather than its decoration. Time your approach against the gap that will remain when the ball arrives.
Choosing a mode
A challenge map gives you a specific course to learn, while an endless run emphasizes continued survival. Adjust the goal of the attempt before deciding how much risk to take for diamonds.
Controls
| Input | Action | When to use |
|---|---|---|
| ← | Steer left around the route | When the next clear opening lies left |
| → | Steer right around the route | When the next clear opening lies right |
High Score Tips
- Track the next two obstacle shapes when the view allows it, because the first gap may place you poorly for the second.
- Make one measured movement toward an opening and reassess, avoiding a long sweep that carries the ball past the useful position.
- On a challenge map, remember the difficult transition itself rather than only the point where the previous attempt ended.
- For moving shapes, judge the space that will be open at arrival, not merely the gap visible at the start of the approach.
- Leave a diamond when its route forces a late reversal before a barrier; that extra movement can cost more than the pickup adds.
Key Features
- Spiral tunnel route: Steering follows a curved surface instead of a flat road.
- Varied obstacle shapes: Changing openings demand more than staying in one lane.
- Endless and challenge options: Different modes support survival runs and course practice.
- Diamond unlocks: Collection contributes to additional ball choices.
Frequently Asked Questions
Which controls move the ball?
Use the left and right arrow keys to steer around the tunnel route. Read the next opening first, then move toward it in controlled amounts instead of sweeping across the surface without a target.
What modes are described for Tunnel Ball?
The source lists an endless option and challenge maps. Choose the former for a survival attempt or a challenge when you want to work on a more specific course and its obstacle sequence.
Why do moving shapes catch me?
An opening can change while the ball approaches. Keep checking the gap until you pass it, and plan for the space available at arrival rather than relying only on the first view.
What are diamonds used for?
Diamonds contribute to unlocking additional balls. Collect them when their position fits the safe opening you have already chosen, without turning every obstacle crossing into an extra collection gamble.
How do I avoid becoming disoriented?
Use the tunnel surface and the next clear gap as your references. Following those two things makes a correction easier to judge than reacting to the apparent rotation of the entire background.