






About Slope 2
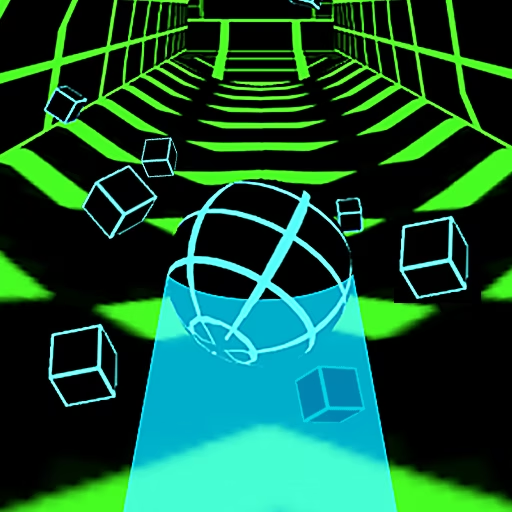
Slope 2 uses automatic forward movement to keep a ball traveling through a neon three-dimensional course. You handle the left-right position while the route introduces gaps, red obstacles, tunnels, and changing track shapes. Staying on one safe slab is only a temporary solution; the ball must also be lined up for whatever connects to it.
Boost markings add another demand to the descent. A faster section gives you less time to correct a weak approach, so the preparation before it matters. Ramps can carry the ball through the air without a separate jump command. In those moments, steering is about reaching the right takeoff line and finding the platform that receives the flight.
How to Play Slope 2
Keep a continuous route through the course, preparing your position before ramps, boosts, and narrow openings.
- Steer with A/D or the left and right arrow keys as the ball rolls automatically.
- Choose the open side of approaching red blocks and moving hazards.
- Align with ramps and boost sections before the ball reaches them.
- Follow the next landing surface through the transition and continue until a crash or fall ends the run.
Controls & Timing
Before the boost
When arrow markings announce a faster section, set your line while you still have room. Trying to solve both alignment and the next obstacle after accelerating compresses the decision.
Ramp crossings
The track supplies the launch when the ball reaches a ramp. Direct the approach toward the receiving platform instead of searching for a jump button.
Tunnel exits
A tunnel can narrow your visible route. Keep watching the opening beyond it so a safe passage inside does not become a poor line immediately outside.
Controls
| Input | Action | When to use |
|---|---|---|
| A / ← | Move the ball left | Before a left-side opening or alignment change |
| D / → | Move the ball right | Before a right-side opening or alignment change |
High Score Tips
- Treat each speed boost as an advance-planning test: choose an exit line before the ball reaches the marked surface.
- Use short steering inputs near narrow ramps, since an otherwise small sideways error can miss the launch surface.
- Allow moving obstacles enough clearance for their next position, not merely the position visible when you first notice them.
- Avoid immediately reversing a successful dodge unless the next section requires it; unnecessary corrections can unsettle a good approach.
- After a ramp failure, inspect where you entered the ramp, because the landing problem may have started before the flight.
Key Features
- Boost sections: Marked surfaces change the pace of an approach.
- Ramp-led flights: Track geometry carries the ball across breaks.
- Tunnel passages: Enclosed stretches add another kind of alignment problem.
- Moving and fixed hazards: Different obstacle layouts interrupt the rolling route.
Frequently Asked Questions
Which keys steer the ball?
Use A/D or the left/right arrows. Forward travel is automatic, so these inputs are for lateral placement rather than acceleration, and a small correction is often enough to find the next opening.
Is there a jump button for gaps?
The described version uses ramps and track geometry for airborne crossings. Prepare the ball's line before the ramp instead of expecting a separate jump input to rescue an unsuitable approach at the edge.
How should I approach the boost arrows?
Check the track beyond them and establish a safe line first. Once the ball speeds up, there is less time to solve the next obstacle, making early alignment especially useful.
Why is the tunnel exit difficult?
Your attention may stay on getting through the entrance while the next platform already demands a different position. Read the route beyond the tunnel as early as the view allows.
What causes a run to end?
Colliding with dangerous obstacles or falling away from the track stops the attempt. Even after passing a block, keep checking the platform boundaries and the next landing surface so the dodge remains useful.