







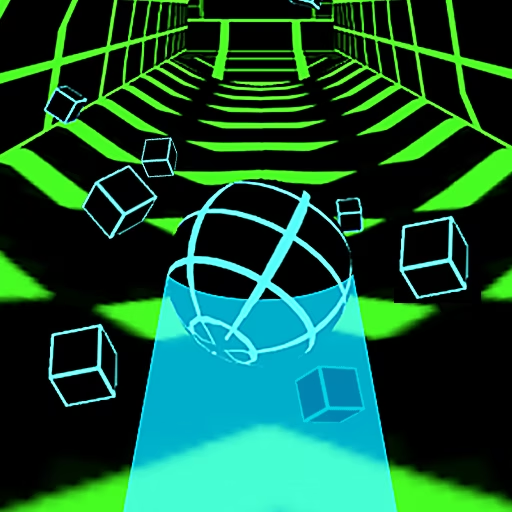

About Curve Rush 2
Curve Rush 2 follows a ball across a succession of dunes, where the shape of the ground determines how much speed you can carry into the air. Your job is to link the slopes together without bringing the run to a rough stop. A high launch looks promising, but the next hillside matters just as much as the height you reach.
The sequel adds environments, obstacles, and ball choices to the hill-jumping formula. Coins give you something to collect along the way, while the white horizon provides a visible target for higher flights. Underneath those additions, each attempt still depends on a repeated decision: where to build momentum, when to leave the ground, and how to meet the terrain again.
How to Play Curve Rush 2
Build speed on a descent, launch from the rising slope, and return to a surface that lets the ball continue rolling.
- Hold the left mouse button while moving down a hill to build momentum.
- Release as the ball climbs toward the launch point, allowing it to leave the slope.
- Read the terrain beneath the flight and prepare for the next downhill landing.
- Repeat the sequence, collecting reachable coins and avoiding obstacles or damaging impacts.
Controls & Timing
The downhill setup
When the ball reaches a descent, hold your input through the useful part of the slope. A stronger approach gives the following rise more momentum to turn into a jump.
The landing decision
While airborne, look for a descending surface rather than watching only the ball. A harsh impact can end the attempt, so a high flight is valuable only if you can return safely.
Coins on the route
Collect coins when their position fits your approach. They support unlocks, but steering your timing around a pickup can spoil the slope sequence you were building.
Controls
| Input | Action | When to use |
|---|---|---|
| Hold left mouse button | Build speed along a descent | While following the downhill curve |
| Release left mouse button | Launch from the slope | As the ball climbs toward takeoff |
| Hold again on the next descent | Begin the next speed-building phase | After returning to the terrain |
High Score Tips
- Judge a jump by its exit: a modest flight that reaches a usable downhill slope can preserve the whole run.
- Keep the landing zone in view during ascent so you have time to prepare for the ground beneath you.
- Adjust one release at a time after a failed attempt; changing both the approach and takeoff makes the result harder to interpret.
- Try horizon-clearing jumps from approaches with enough speed, rather than forcing height from a weak uphill climb.
- Treat unfamiliar obstacles as a reason to shorten your next commitment, giving yourself more room to read the route.
Key Features
- Terrain-driven momentum: Descents and rises form the launch system.
- Horizon target: The white line gives high jumps a clear visual reference.
- Expanded scenery: Different environments change the backdrop and obstacles you encounter.
- Collectible coins: Pickups contribute to unlocking additional ball choices.
Frequently Asked Questions
How do I make the ball jump?
Hold the left mouse button through a descent, then release as the ball climbs toward a suitable launch point. The hill supplies the takeoff, so release timing and approach speed work together.
Why does a high jump still end my run?
Height does not guarantee a gentle return. If the ball comes down against an unfavorable part of a slope or hits an obstacle, the landing can stop the attempt despite a successful launch.
What should I look at while the ball is airborne?
Look below and ahead for the next descending surface. Tracking that area helps you judge whether the current flight will reconnect with the terrain in a useful position for another jump.
Should I collect every coin?
Only take coins that fit the line you can safely maintain. An extra pickup is less useful than keeping a promising run alive, particularly when the landing area is already awkward.
How is this different from Curve Rush?
It keeps the hill-based momentum and release timing while adding environments, obstacles, and ball options. Start by learning the familiar launch-and-landing cycle, then adapt that timing to the additional terrain challenges.