



About Flying Ball
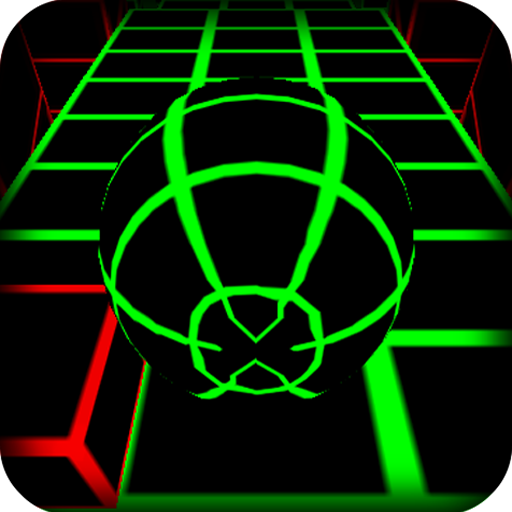
Flying Ball combines rolling sections with airborne crossings on a three-dimensional course. The ball travels along elevated tracks, meeting ramps, boosts, tunnels, and obstacles that make the next landing a constant concern. Your lateral steering sets up those transitions, so the useful path starts before the ball ever leaves the ground.
Gems and different ball appearances provide an additional goal as you advance. The immediate challenge, though, is connecting a takeoff to a receiving platform while avoiding the red hazards around it. A ramp is not automatically a safe route simply because it launches the ball. You still have to arrive on the right line and read what waits beyond the flight.
How to Play Flying Ball
Keep the ball on a viable route through the course’s rolling and airborne sections.
- Use A/D or the left/right arrows to steer along the elevated track.
- Line up with a ramp or boost before reaching it.
- Follow the receiving platform through the airborne crossing.
- Clear the next hazards, collect safe gems, and continue along the course without falling or colliding.
Controls & Timing
Setting the takeoff line
When a ramp approaches, locate the platform beyond it first. Move into alignment on the approach so the launch begins from a useful position.
Boost and recovery
A boost changes how quickly the next part arrives. Prepare for the obstacle after the boost instead of spending the whole approach watching the acceleration.
Moving red hazards
If a barrier changes position, reassess the opening during the approach. The gap you first noticed may no longer be the one available when the ball reaches it.
Controls
| Input | Action | When to use |
|---|---|---|
| A / ← | Steer left | To align with track, ramp, or opening |
| D / → | Steer right | To align with track, ramp, or opening |
High Score Tips
- Prepare a ramp crossing on the stable track before it, because a late steering correction can spoil the takeoff line.
- Look for the middle of the receiving surface when space allows, leaving a margin around both edges of the landing.
- Avoid following a gem trail until you know it reconnects with a safe platform beyond the collection point.
- At tunnel exits, shift your attention to the first exposed section so the change in scenery does not delay the next correction.
- Review missed flights from their approach rather than only their landing; the original alignment may explain why the platform was unreachable.
Key Features
- Elevated courses: Exposed edges make lateral placement important.
- Ramp-driven airtime: The route alternates between rolling and flying sections.
- Boost transitions: Changes in pace demand advance preparation.
- Collectible gems: Pickups contribute to additional ball appearances.
Frequently Asked Questions
How do I make the ball fly?
The course provides ramps and launch transitions. Steer into a useful approach with A/D or the arrow keys, then follow the landing platform; a separate manual jump key is not part of this guide.
Why do I miss the platform after a ramp?
The approach may have put the ball on the wrong line. Identify the receiving platform before takeoff and adjust on the track leading to the ramp, rather than waiting until the flight has already begun.
Which keys steer the ball?
Use A or the left arrow to move left, and D or the right arrow to move right. Make the correction toward a visible opening or platform so you know when to stop.
Should I follow every gem trail?
Only when the route remains safe beyond it. A pickup line can be tempting near a ramp or edge, but reaching the next platform is more important than adding one difficult collection.
What should I watch around boosts?
Look at the first obstacle or transition after the boost. Preparing for that part early helps you use the faster approach without arriving at the next decision before you have chosen a line.